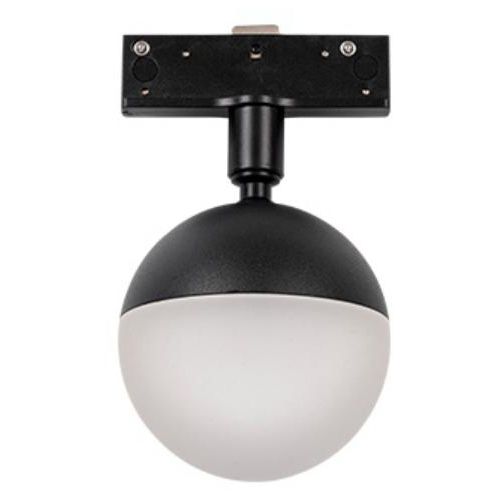
How to install 5mm extremely narrow magnetic track lights?
2025-07-23
With its minimalist design and flexible installation features, 5mm extremely narrow magnetic track lights have become a new lighting choice for modern homes and commercial spaces. Its installation process focuses on detail control to ensure the integration of the track and space while ensuring the stability of the lighting effect.

Precise positioning and tool preparation are required before installation. First, determine the direction of the track (straight or corner splicing) according to the design drawings, and use a laser level to mark the installation baseline to ensure that the track is parallel to the wall and ceiling. The tools required include a tape measure, an electric drill, a cross screwdriver, and expansion screws. The track accessories need to be checked in advance - including the 5mm main track, magnetic lamp head, power adapter, and corner connector, to confirm that the track surface is not deformed and the magnetic contact is not oxidized.
The core installation steps are divided into track fixing and lamp assembly. For ceiling installation scenarios, first drill holes at the marked positions, implant expansion tubes, and fix the track base with self-tapping screws (spacing ≤50cm to ensure stable load-bearing); if it is mounted on the wall, it can be fixed directly through the reserved holes of the track. Note that the end of the track should be no more than 1.5 meters away from the power socket to reduce the exposure of wires. After fixing, connect the power cord. The live wire, neutral wire, and ground wire need to be connected to the track junction box accordingly. Wrap the insulation tape and power on to test whether the track is powered on normally.
Lighting debugging focuses on safety and effect optimization. After the track is powered on and confirmed to be correct, push the lamp head along the track slot and fix it with strong magnetic attraction (install it in place when you hear a "click" sound), and avoid pressing the surface of the lamp head hard. Adjust the lamp head angle according to lighting needs (some models support 30°-90° rotation), turn on the power to check whether the light spot is uniform, and if flickering occurs, re-plug the lamp head to ensure good contact. After installation, the gap between the track and the surface of the space must be controlled within 0.5mm, and the screw holes must be covered with a special decorative cover to achieve a visual "invisible" effect.
An overall inspection is required at the final stage. After power on, test the switch functions of all lamp heads, use a multimeter to measure the track voltage (make sure it is within the AC220V±10% safety range), and check the magnetic strength (a single lamp head can hang a 500g weight without falling off). Finally, clean the fingerprints and dust on the surface of the track to ensure that there is no shadow interference when the light is projected. Through standardized installation, the minimalist design and light and shadow effects of the 5mm extremely narrow magnetic track light are perfectly presented.


